Bathroom leaks rarely start with a dramatic failure. They begin quietly, when bathroom seals around a bath, shower tray, tiles, or a screen lose their grip and water starts finding hairline routes behind the finish. Material fatigue is a big part of why this happens years after a “perfect” installation, and it matters because the damage is often hidden until boards swell, grout stains, or the ceiling below starts to mark.
A bathroom is a wet room even when it isn’t. Steam, cleaning chemicals, vibration, and small building movements add up, and the weak point is usually the edge where two materials meet.
Why leaks show up late, not early
New silicone and fresh grout can mask small issues. In the first year, everything still compresses and rebounds as expected, and any tiny voids might not be tested by a full soaking.
Over time, the bathroom becomes a stress test. Hot showers expand surfaces, cold nights contract them, and daily use nudges fittings by fractions of a millimetre. That’s enough to turn “water sheds off the surface” into “water tracks behind it”.
Most long-term bathroom leaks are slow leaks: capillary action, hairline gaps, and repeated wetting-not a burst pipe.
The seal isn’t one thing: it’s a system
People talk about “the seal” as if it’s just the visible bead. In practice, the water management relies on layers doing their job in sequence: a sound substrate, correct falls, a watertight tanking system (where applicable), and then the visible finishes.
When any layer is missing or compromised, bathroom seals end up doing more work than they’re designed for-acting as primary waterproofing rather than a finishing barrier.
Common “system” weak points
- No proper tanking behind tiles in high-risk areas (especially around showers).
- Movement between bath/shower tray and walls not accounted for.
- Poor falls that allow pooling against corners and edges.
- Tile adhesive voids that give water a pathway once a gap forms.
What actually breaks down in bathroom seals
Sealants age. Even good products do, because they live in a hostile environment: constant moisture, cleaning agents, and UV from daylight or downlights.
Material fatigue shows up as gradual loss of elasticity and adhesion. The bead can look intact from a distance while it has already debonded along one edge, creating a concealed channel for water.
The typical failure modes you’ll see
- Adhesion failure: the silicone releases from the bath/tray or tile edge (often one side only).
- Cohesion failure: the bead tears within itself after repeated movement.
- Mould and biofilm: not just cosmetic-some cleaners and scrubbing routines accelerate breakdown.
- Shrinkage and cracking: more common with cheaper products or incorrect curing conditions.
If the bead peels away cleanly like a strip, that’s usually adhesion failure. If it looks torn and ragged, that’s often movement plus fatigue.
The hidden driver: movement you don’t notice
Bathrooms move more than people expect. A filled bath can flex slightly. A shower tray can deflect under load. Timber floors can respond to humidity. Even a well-built house shifts across seasons.
If the sealant was applied with the bath empty, the first deep fill can drop the rim by a millimetre or two. That stretches the bead immediately, then repeats every time the bath is used. Years later, the bead gives up.
Where movement hits hardest
- Bath-to-tile junctions, especially long runs.
- Shower screens fixed through tile into a moving substrate.
- Corners where two walls meet (different directions of movement).
- Around wastes and traps where access is limited and leaks linger.
Installation details that only show up later
Many “years-later” leaks are born on day one, but only become visible once the bathroom has been through enough cycles of heat, cold, and cleaning.
Small shortcuts can hold for a while. Then the sealant reaches the end of its tolerance, and water starts taking the easiest path.
The most common early errors with delayed consequences
- Sealing over damp, dusty, or soapy surfaces (poor bond from the start).
- Using sanitary silicone past its shelf life, or the wrong type for the material.
- Applying a thin bead with poor tooling, leaving micro-voids.
- Relying on grout in movement joints instead of flexible sealant.
- Fixing a shower screen without sealing the correct edges (or sealing the wrong ones and trapping water).
Quick checks you can do before you rip anything out
You don’t need specialist tools to spot many seal-related issues. What you’re looking for is not “does it look neat?” but “does it still adhere and shed water where it should?”
- Run a dry tissue along the bottom edge after a shower; check for persistent damp lines.
- Look for darkening grout or swollen skirting/architrave near wet zones.
- Press gently along the silicone bead: it should feel continuous, not hollow or lifting.
- Check the outside face of shower screen channels for gaps and missing caps.
- If there’s staining below (ceiling/wall), assume water is travelling and investigate promptly.
A leak can track metres from the entry point. The first stain is often not directly under the failure.
How to make the next seal last longer
A durable outcome is less about buying “the strongest” silicone and more about building a forgiving detail: clean substrates, allowance for movement, and water directed away from junctions.
Practical upgrades that improve longevity
- Use a quality mould-resistant sanitary silicone, matched to the surfaces (acrylic baths, stone trays, etc.).
- Seal with the bath half-full (or weighted) so the bead cures closer to working position.
- Keep movement joints flexible: don’t grout internal corners where movement is expected.
- Improve ventilation to reduce constant dampness that feeds mould and chemical cleaning cycles.
- If retiling a shower area, consider tanking as standard rather than optional.
When it’s not the seal (but looks like it)
Bathroom seals get blamed for everything because they’re visible. Sometimes they are the culprit-but not always.
If water appears only during drainage, or only when someone steps in the shower, suspect wastes, traps, or tray flex and support. If the leak is slow and constant, suspect pipework or a failed connection, especially behind vanity units and boxed-in baths.
A simple rule of thumb
- Leaks during use (spray/contact water): often seals, corners, screens, grout lines.
- Leaks during drain-down: often waste, trap, loose compression fittings.
- Leaks after long soaking: often bath movement, overflow, or hidden pooling behind tiles.
A sensible repair threshold
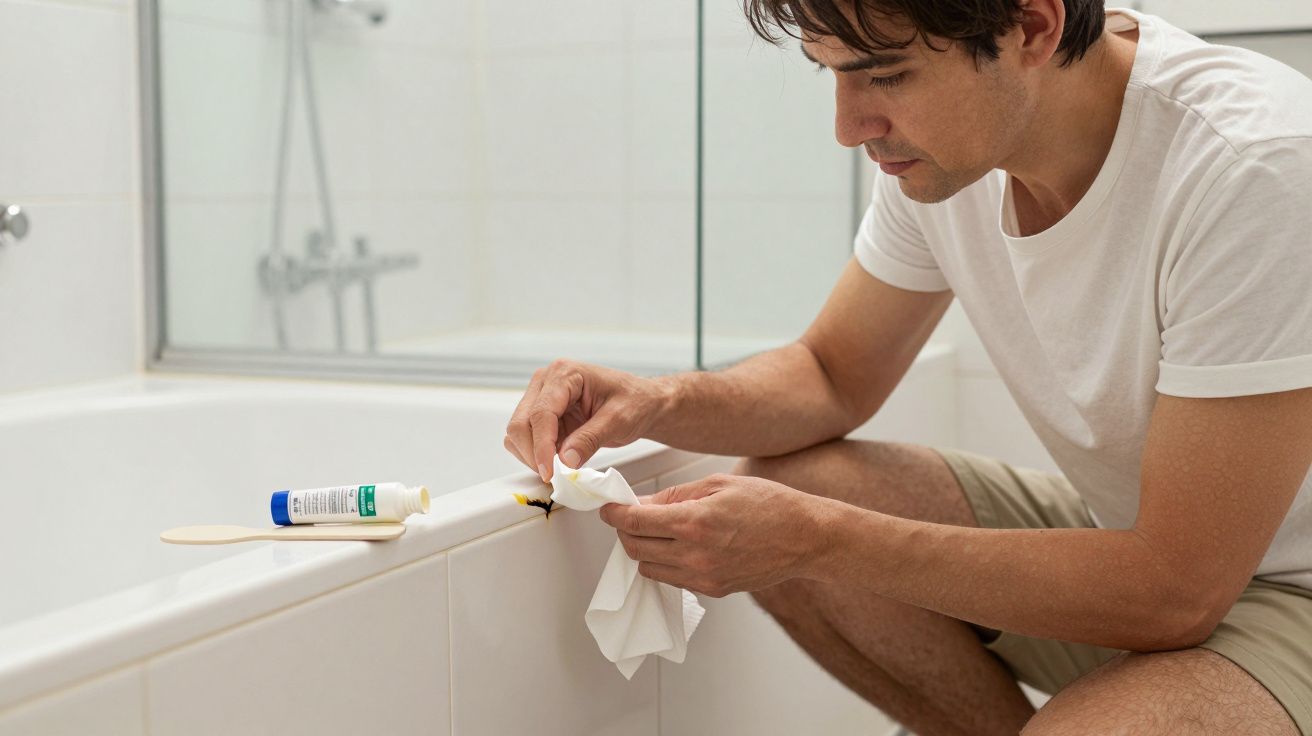
If you can lift or peel sections of silicone, replacement is usually justified. Patching over old sealant rarely bonds well and often traps moisture.
Where there’s any sign of swollen boards, crumbling plaster, or persistent mouldy smell, treat it as more than cosmetic. Water behind finishes can spread, and the longer it sits, the bigger the job becomes.


Comments (0)
No comments yet. Be the first to comment!
Leave a Comment