Most people buy Dr. Martens for the look and the promise: boots you can wear to gigs, on commutes, through wet pavements and lazy Sundays. Then, somewhere between month three and year two, a strange line starts to appear - and it’s the small detail that decides whether the boot ages beautifully or starts to look tired. It seems there is no text provided for translation. please provide the text you would like translated into united kingdom english. turns up in my notes like a glitch, but it fits the point: the detail most worth “translating” is easy to miss until time forces you to read it.
It isn’t the yellow stitching or the bouncing sole. It’s the welt seam - the line where upper meets sole - and how you look after it from the start.
The one detail you only notice after a winter
A good pair of boots doesn’t fail all at once. It fails slowly, in a place you rarely look at when you’re lacing up in a hallway. With Dr. Martens, the long game often hinges on the welt: the join that takes the flex of every step and the splash of every puddle.
That seam is both strong and vulnerable. Strong because it’s engineered to hold the shoe together under repeated stress; vulnerable because grit, salt, and drying heat all attack it in tiny, boring ways.
You can ignore it for a year and still feel fine. Then the edge starts to lift, the thread begins to look fuzzy, and suddenly you’re wondering whether you bought “lifers” or just a stylish season.
Why the welt seam matters more than the leather (most days)
Leather gets all the attention because it’s visible, but most leather problems are reversible: condition it, brush it, let it rest. The welt area is different. It sits at ground level, catches road filth, and holds moisture right where the boot flexes.
Two things happen over time:
- Flex + water: wetting and drying at the seam encourages tiny separations.
- Grit + salt: abrasive particles act like sandpaper; salt dries and stiffens materials, making flex harsher.
If you’ve ever seen a boot where the upper looks decent but the edge looks chewed, that’s the story.
The small habit that pays off: clean the seam, not just the toe
The fix is almost comically simple: when you clean your boots, spend thirty seconds on the welt seam itself. Not a deep clean, not a ritual - just targeted attention where the boot actually “works”.
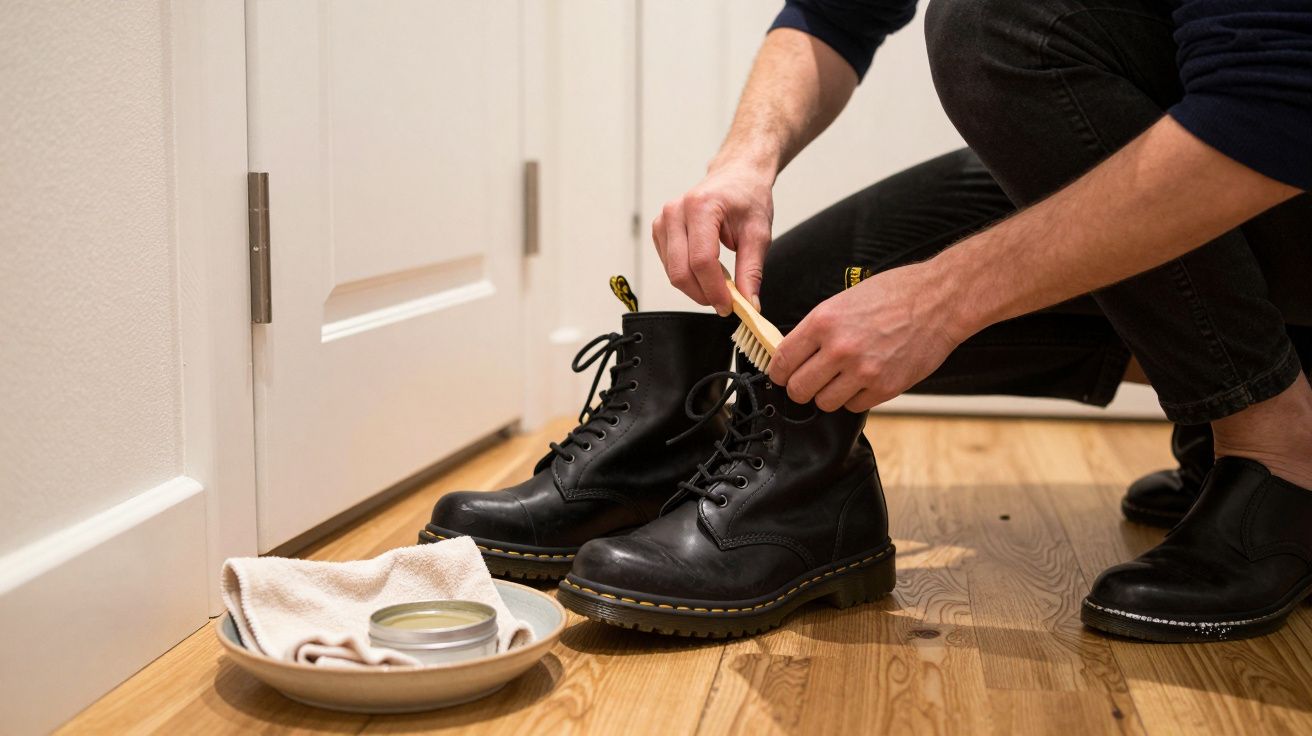
A practical routine you can do by the door:
- Brush dry first. A soft brush (or an old toothbrush) along the welt removes grit before you add water.
- Wipe with a barely damp cloth. Focus on the join, going all the way around the boot.
- Dry naturally. Keep them away from radiators; heat bakes the seam and makes materials brittle.
- Add a thin layer of wax around the edge (optional but powerful). A neutral shoe wax or a purpose-made protector helps shed water.
The difference isn’t dramatic on day one. It’s dramatic on day 300, when the boots still look “kept” rather than merely “survived”.
Common mistakes that shorten the lifespan
People don’t usually ruin boots through neglect; they ruin them through the wrong kind of effort.
- Soaking the boots to clean them. Water sits in the seam and takes ages to leave.
- Drying them fast on direct heat. Leather and bonding materials hate sudden heat.
- Conditioning only the upper. The boot looks shiny, but the seam stays gritty and dry.
- Ignoring winter salt. Salt builds up invisibly until the edge looks chalky and stressed.
A good rule: if your boots have seen a wet pavement, the seam has too.
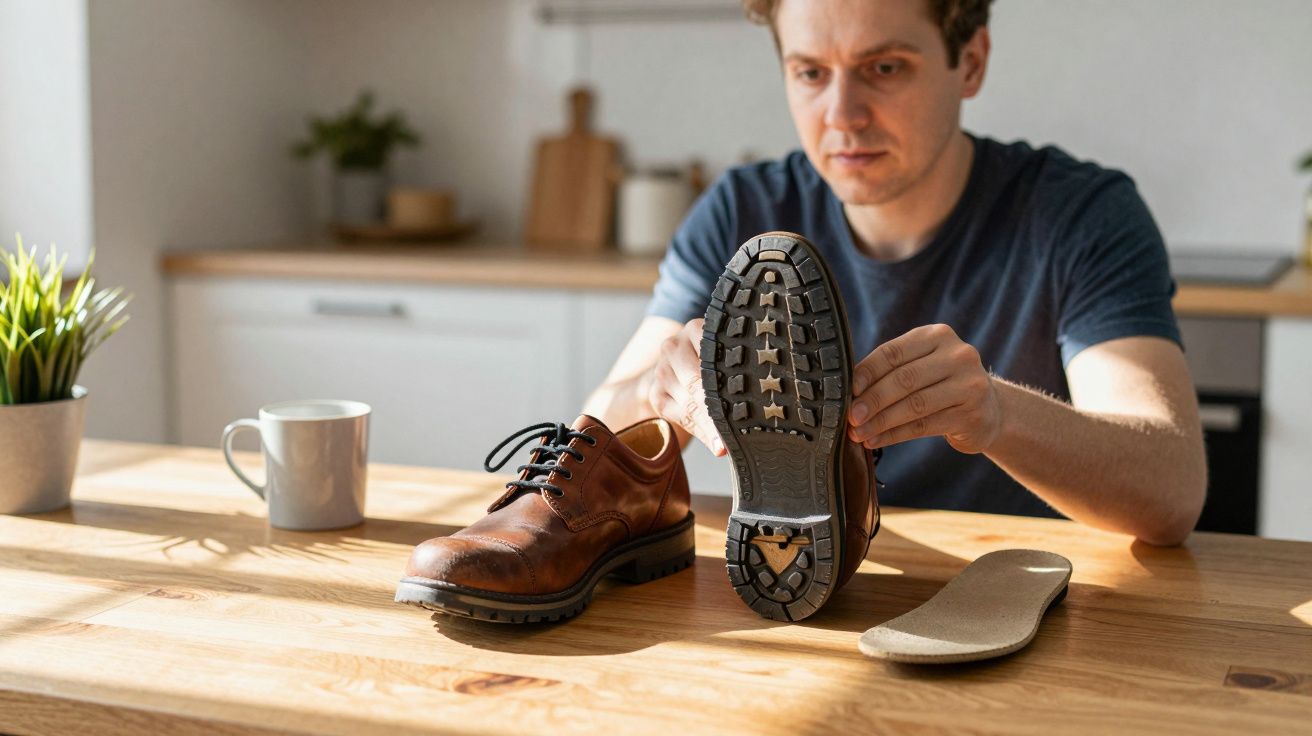
What to look for when you’re checking your pair
You don’t need to inspect them like an expert. Just glance at the edge once a week, especially in winter.
Quick signs you should act now
- A pale, dusty line around the edge that doesn’t brush off easily (often salt residue)
- Thread that looks fluffy or frayed in sections
- A slight lift where the upper meets the sole, especially near the ball of the foot
- Cracks forming at the flex point along the edge
If you catch these early, cleaning and protecting usually brings things back under control. If you wait until the edge is lifting noticeably, you’re into repair territory.
The quiet payoff: boots that age like a story, not like a problem
There’s a particular kind of satisfaction in boots that look worn-in, not worn-out. Scuffs are fine; softened creases are character. What kills the illusion is that ragged edge that says “I’ve been through too much with too little care”.
Treat the welt seam as the working hinge of the boot - because it is. The habit is small, the cost is low, and the improvement is the kind you only appreciate after you’ve put real miles in.
A simple checklist you can remember
- Brush the welt seam dry before you wipe anything.
- Keep water minimal; keep drying slow.
- Protect the edge in winter with a light wax.
- Check the flex point - that’s where time speaks first.
FAQ:
- Do I need special products for Dr. Martens? No. A soft brush, a cloth, and a neutral wax or protector is enough for the welt area; use an appropriate conditioner for the leather upper if it looks dry.
- How often should I clean the welt seam? In dry months, every couple of weeks is fine. In winter or wet weather, a quick seam wipe after messy days prevents salt and grit building up.
- Will this stop the sole from wearing down? It won’t change tread wear, but it helps prevent edge lifting and premature seam deterioration, which is often what makes boots feel “done” early.
- What if the edge is already lifting? Clean it, let it dry fully, and consider a cobbler sooner rather than later. Small separations are usually more repairable than large ones.


Comments (0)
No comments yet. Be the first to comment!
Leave a Comment